Welcome to SnapJag Tech+Photo.
We like to tinker with two things: technology and photography. We work full-time in both the technology and healthcare industries and this helps support us in the technology and photography professions. We will work on freelance jobs, give us a call.
Technology
We offer consulting services and training with computers, software, programming, and databases.
- Greg’s profession: technology engineer (Systems Analysis and Design) – making businesses more streamlined and efficient, with the use of computers, implementing programming and databases solutions
- Kendra’s profession: Certified Nurses Assistant in a Labor and Delivery unit in a major hospital. She comes from a line of health-care professionals and thoroughly enjoys the business and job; her work contributes to sustaining her photography habits
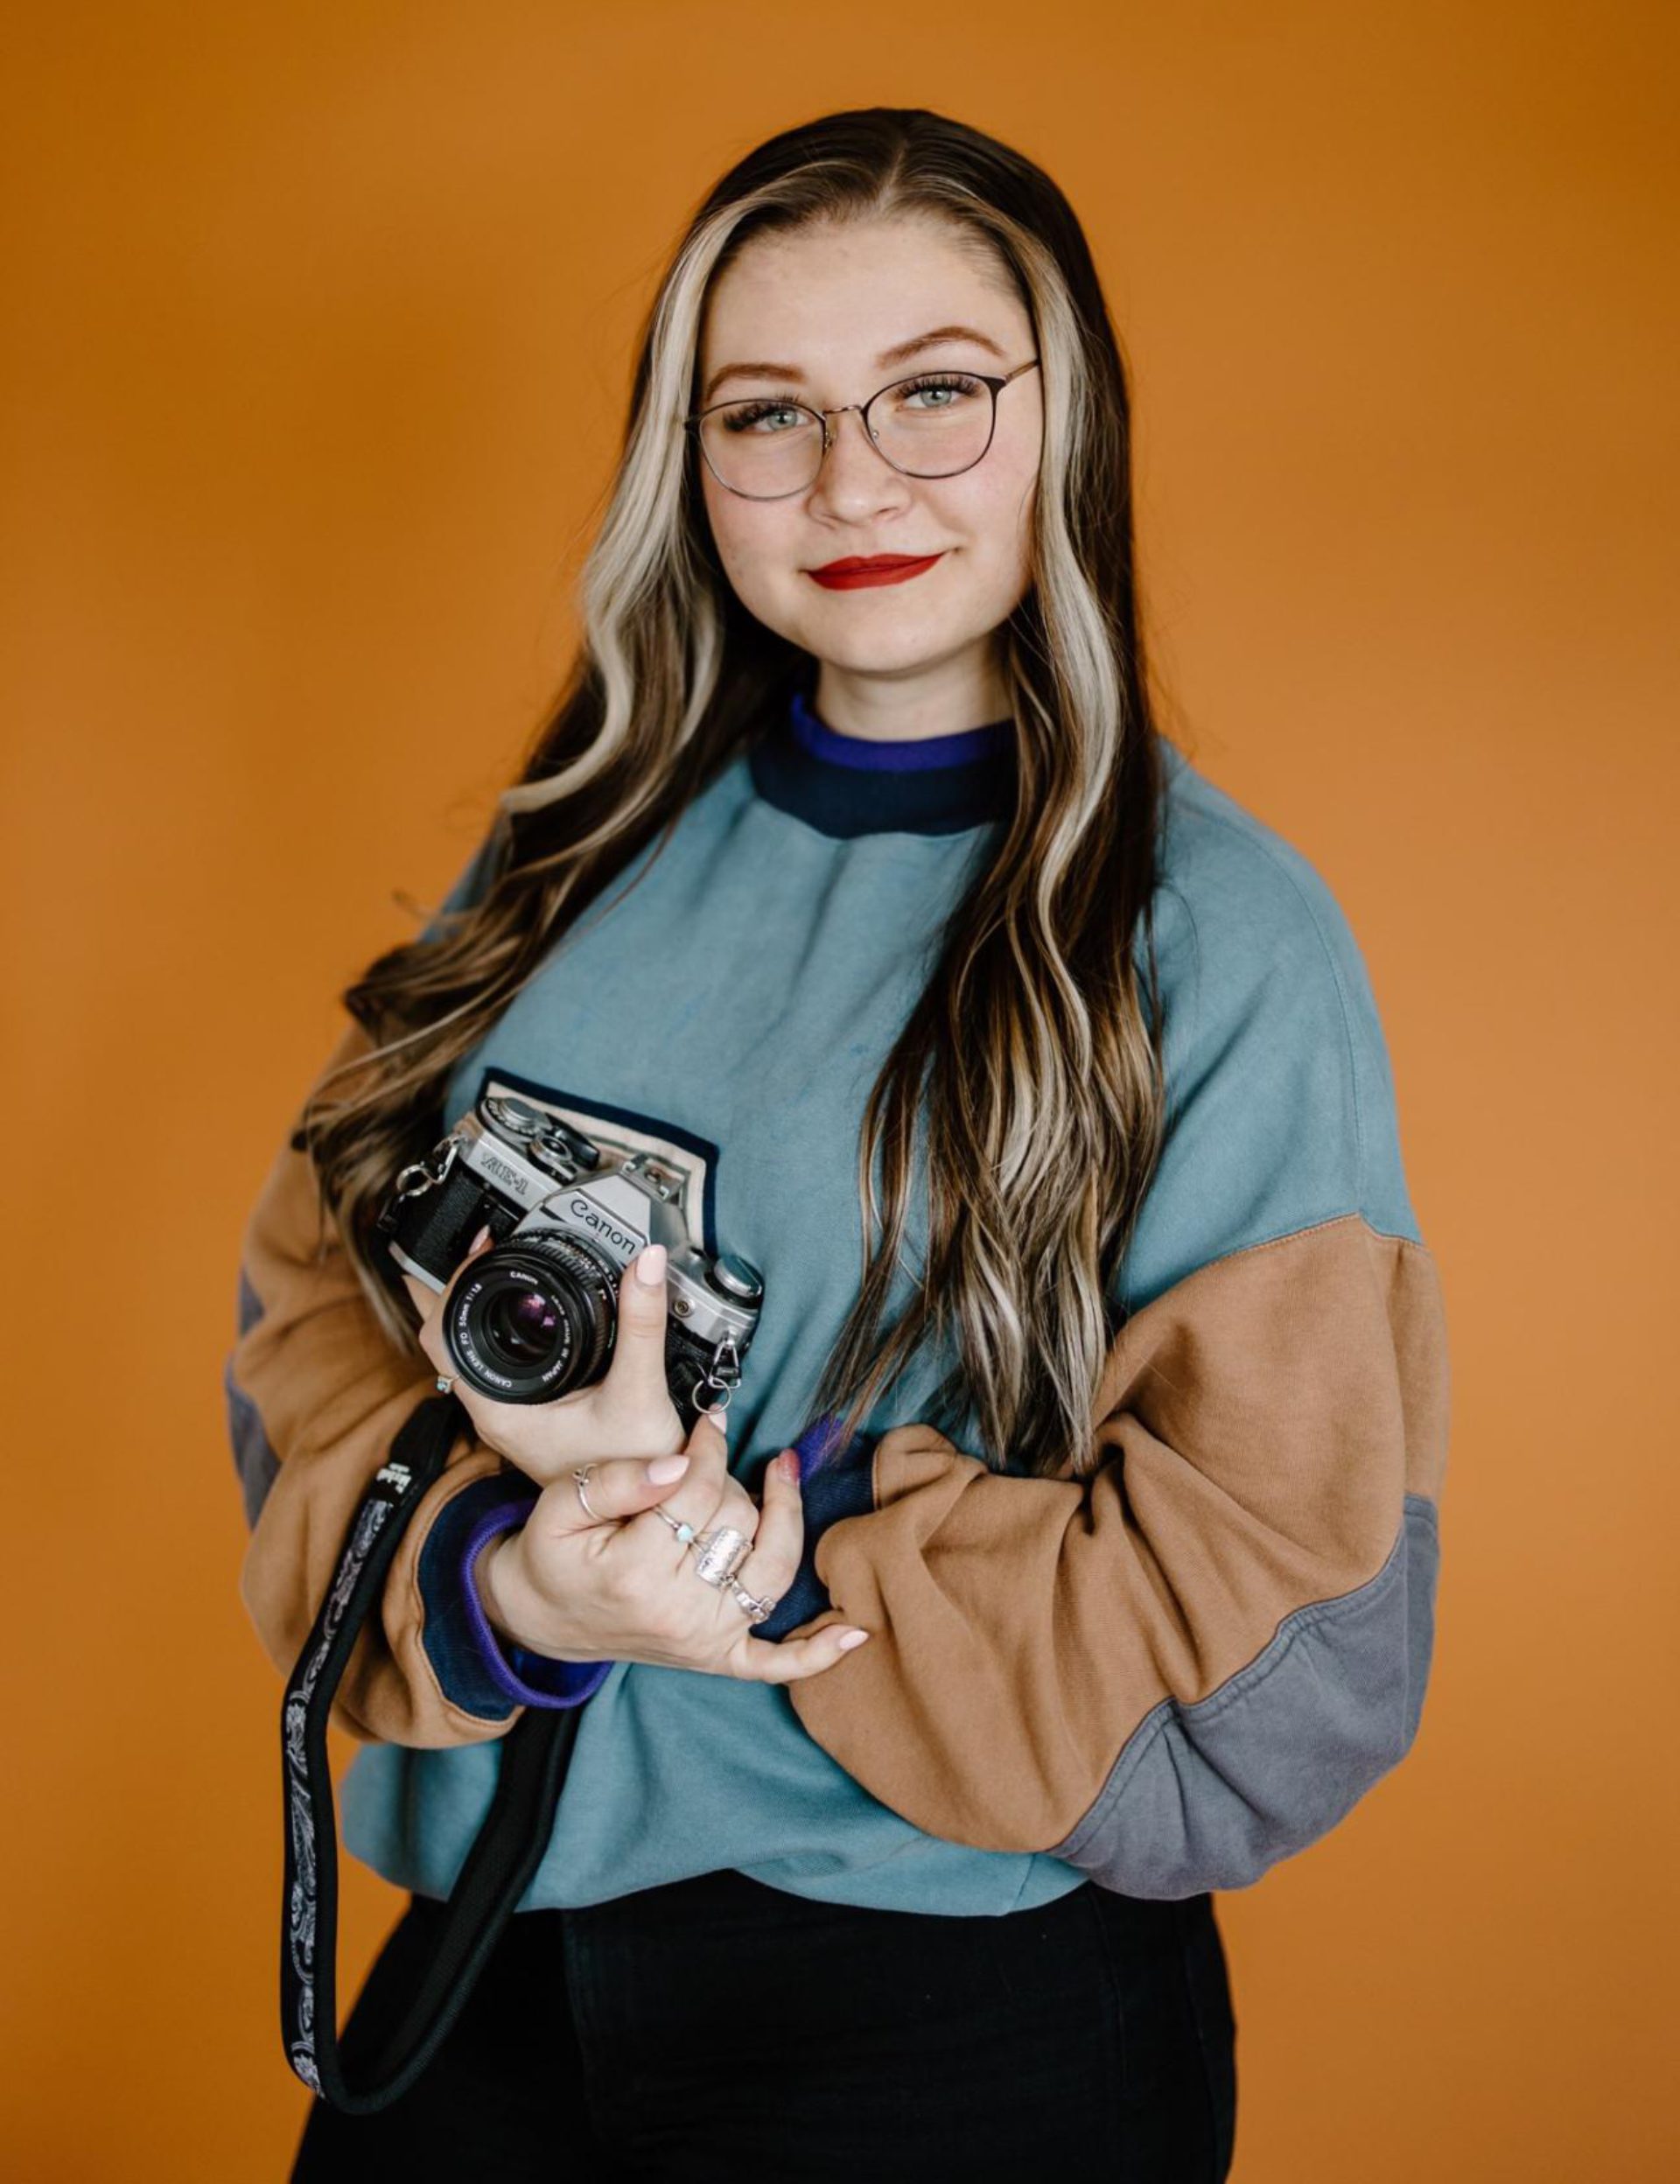
Photography
As semi-professional photographers – as freelance photographers we shoot candid and semi-formal occasions. We like to present a “lifestyle” and “candid” nature of the photos. What we don’t do… we don’t do formal photos for weddings; we will do weddings but in a candid format. It’s all about snapshots, fun, and “capturing the moment”.